Are you an Ubuntu user looking to customize your desktop environment and enhance your Linux experience other than the default GUI? Openbox might be just what you need!
In this article, I have explained the straightforward process of installing Openbox on your Ubuntu system. Let’s dive in.
What is Openbox?
Before we begin, let’s briefly understand what Openbox is. Openbox is a lightweight and highly customizable window manager for Linux.
It’s known for its minimalistic design and efficiency, making it an excellent choice for users who want to tailor their desktop environment to their preferences.
Mostly Linux installed on the server environment should have with minimal interface and hence many system admins prefer to do it using an openbox interface. Then openbox completely replaces the default Linux Windows manager with its own minimal interface.
Later, we can add themes, bars, and customized interfaces as per our requirements.
Installing Openbox on Ubuntu
Follow these simple steps to install Openbox on your Ubuntu system:
- Update Your System:
First, open a terminal and make sure your system is up to date by running the following command:
sudo apt update && sudo apt upgrade- Install Openbox:
With your system updated, you can now install Openbox using the following command:
sudo apt install openbox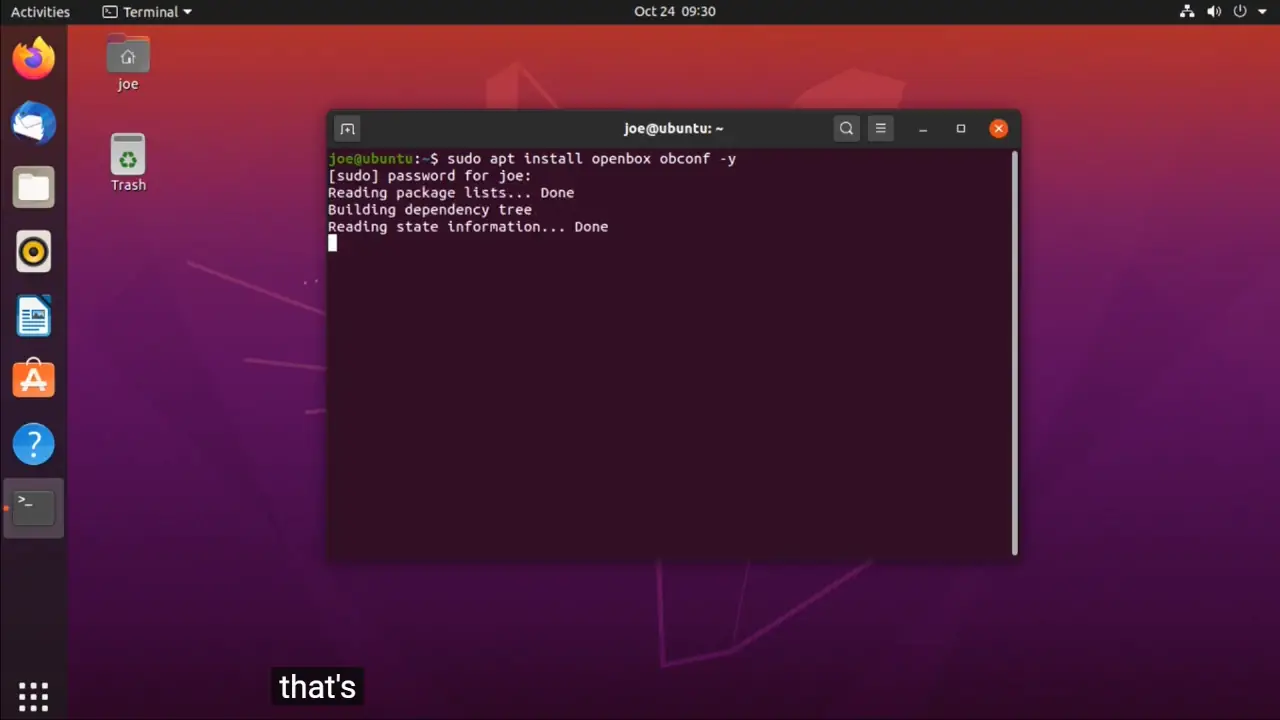
- Install Additional Packages (Optional):
While Openbox provides a basic window management environment, you can further enhance it by installing additional packages, such as a panel, a file manager, and a terminal emulator. For instance, you can install the Tint2 panel and the Thunar file manager with:
sudo apt install tint2 thunar- Logout and Choose Openbox:
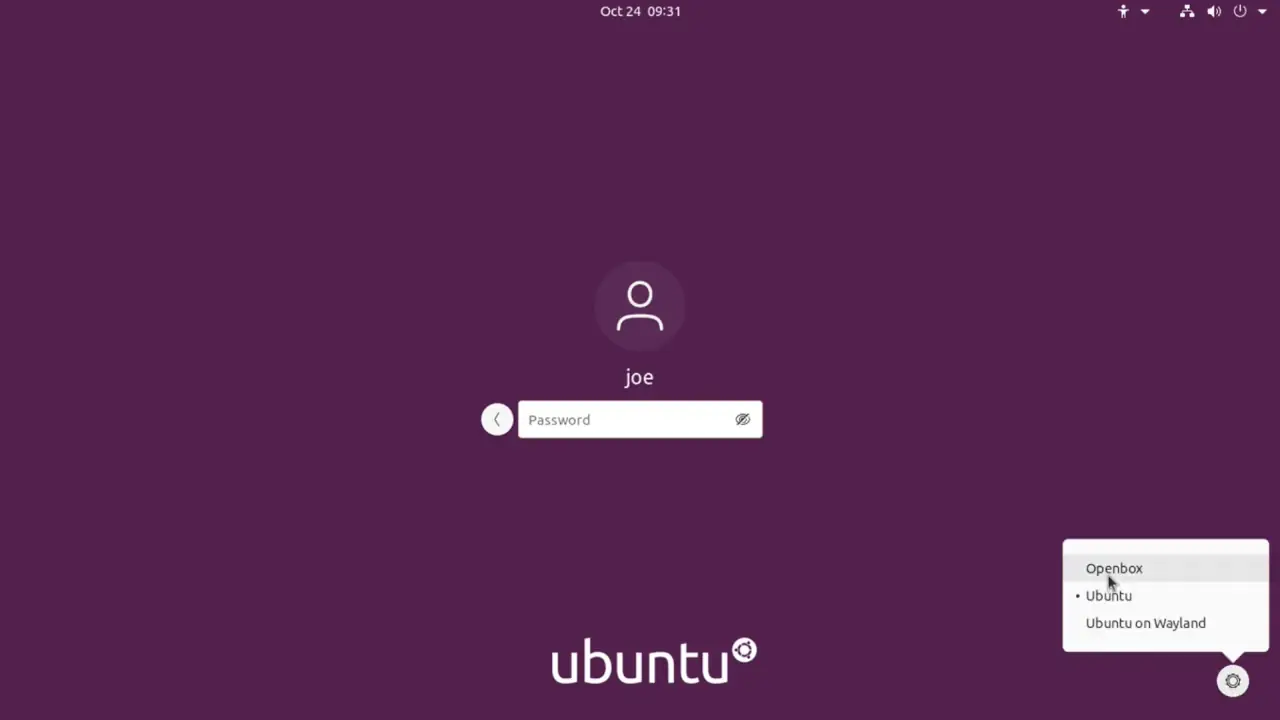
Once the installation is complete, log out of your current session. On the login screen, click on your username, and before entering your password, click the gear icon to select “Openbox” as your session type. - Log In and Enjoy:
After selecting Openbox, log in as usual. You’ll now be in the Openbox environment, ready to customize it to your liking.
Customizing Openbox
Openbox’s true power lies in its customization options. Here are a few tips to get you started:
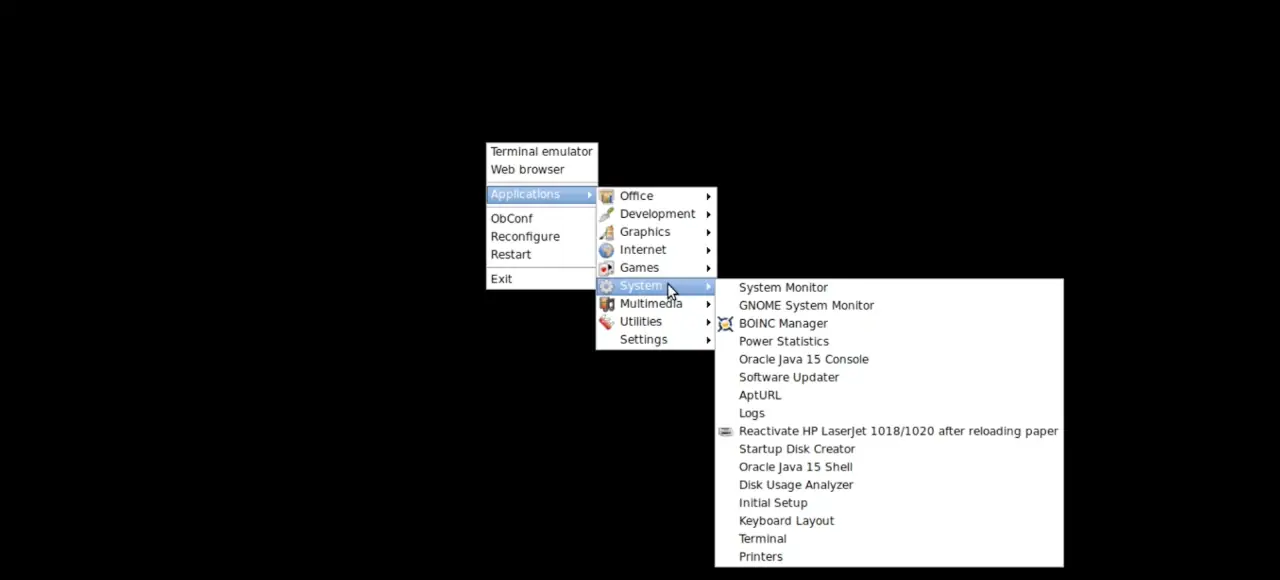
Configuration Files
Openbox’s configuration files are located in the ~/.config/openbox/ directory. You can tweak settings like keybindings, appearance, and more by editing these files.
Adding Autostart Applications
To have applications start automatically when you log in, create an autostart file in ~/.config/openbox/autostart. For example, to start a terminal emulator, add this line:
x-terminal-emulator &Openbox Themes and Appearance:
Customize the look and feel of Openbox with themes. You can use tools obconf to change themes easily.
Here’s a list of some popular and visually appealing Openbox themes that you can consider for your Linux desktop:
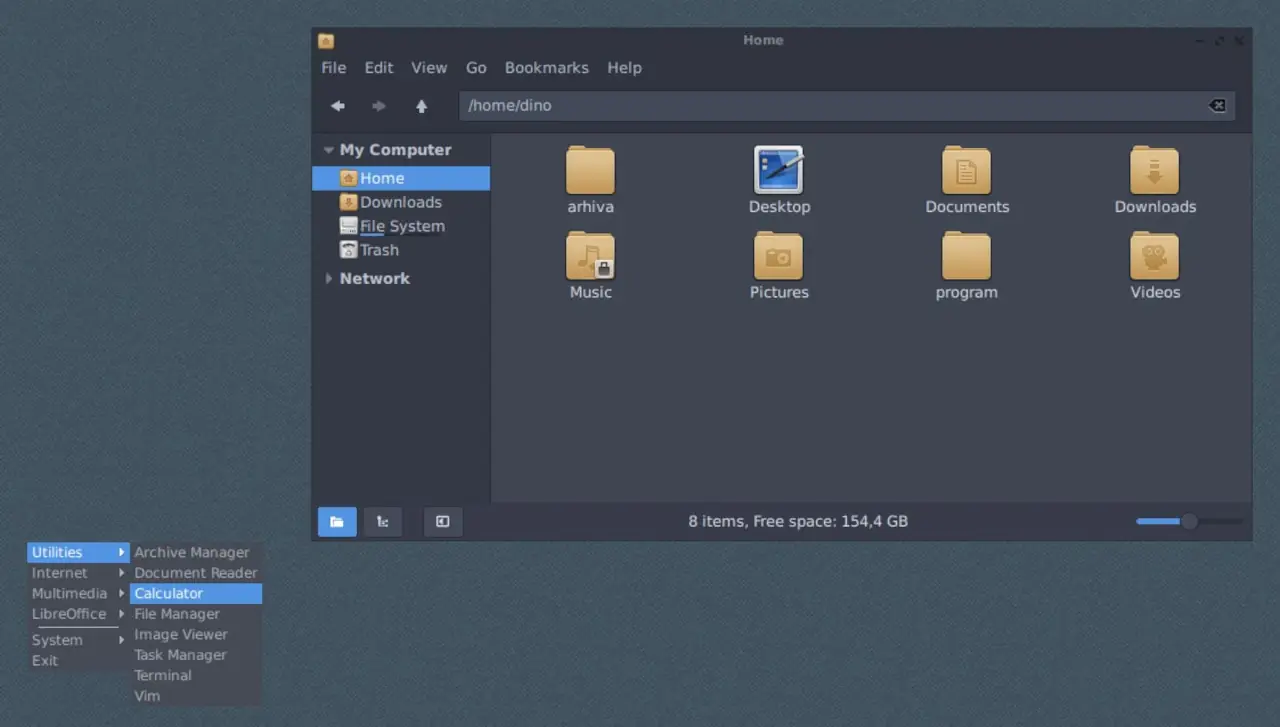
- Arc-Dark/Openbox Theme
- Numix
- Adapta
- Vertex
- Papirus
Note that these will differ by your Linux distro, but you can usually find them in mainstream theme archives or in websites dedicated to Ubuntu customization.
pick the one that suits yourself and your Openbox desktop flavors to make your desktop more cool and customized.
Installing Openbox on your Ubuntu system is simple and with it being a lightweight DE, and its large array of customization features makes it an excellent option for those looking for a more personalized Linux experience.
Now, let’s experiment with Openbox. Using this guide will get you started in no time on having exactly the personalized and efficient desktop experience you want on your Ubuntu system. Happy customizing!
